For many fansites it has become an important feature in the theme design to feature the latest photos added to the gallery for visitors. As you can expect, there are still many fansite owners today who don’t know the ins and outs of CPMFetch or how to install it.
Before we get started, it is important that you have a Coppermine Gallery installation on your server. If you use any other gallery management script this will not work for you.
Now, you will need to download the free Coppermine plugin CPMFetch from the Coppermine Forum. You can also download the zip file from an alternate source via MediaFire Folder.
- Download the copperminefetch_2.0.1.zip file from the link above. Unzip the package and upload the files into a new folder named cpmfetch within your gallery directory where you installed Coppermine.
Do not place the CPMFetch folder within the /plugins/ folder. It should be in the front of your Coppermine directory. - To install and activate the plugin in your gallery you’ll want to open up a new tab in your browser. Type in the URL for your Coppermine installation followed by /cpmfetch/install.php and press enter.
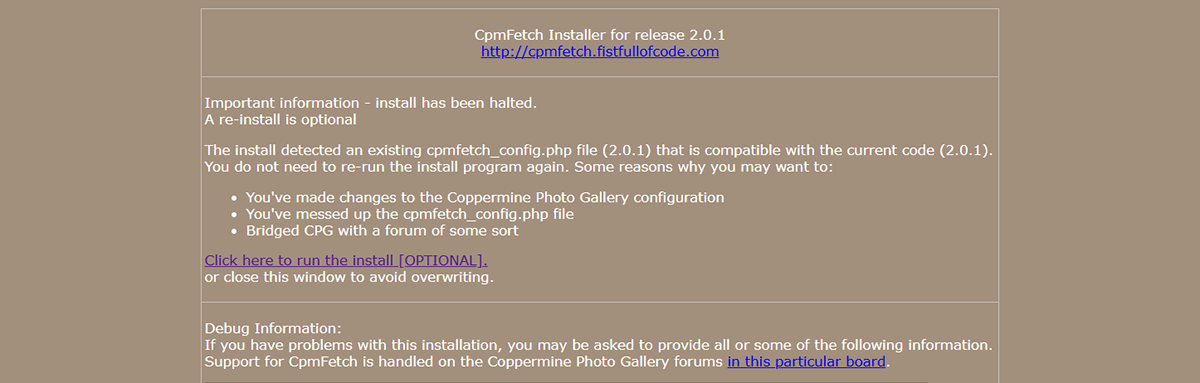
The entire URL should look like this: https://yoursite.com/gallery/cpmfetch/install.php - Once you’ve loaded the URL for the CPMFetch Install page, you should see a page that looks like this:
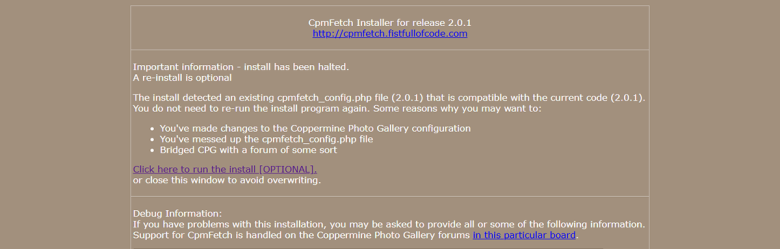
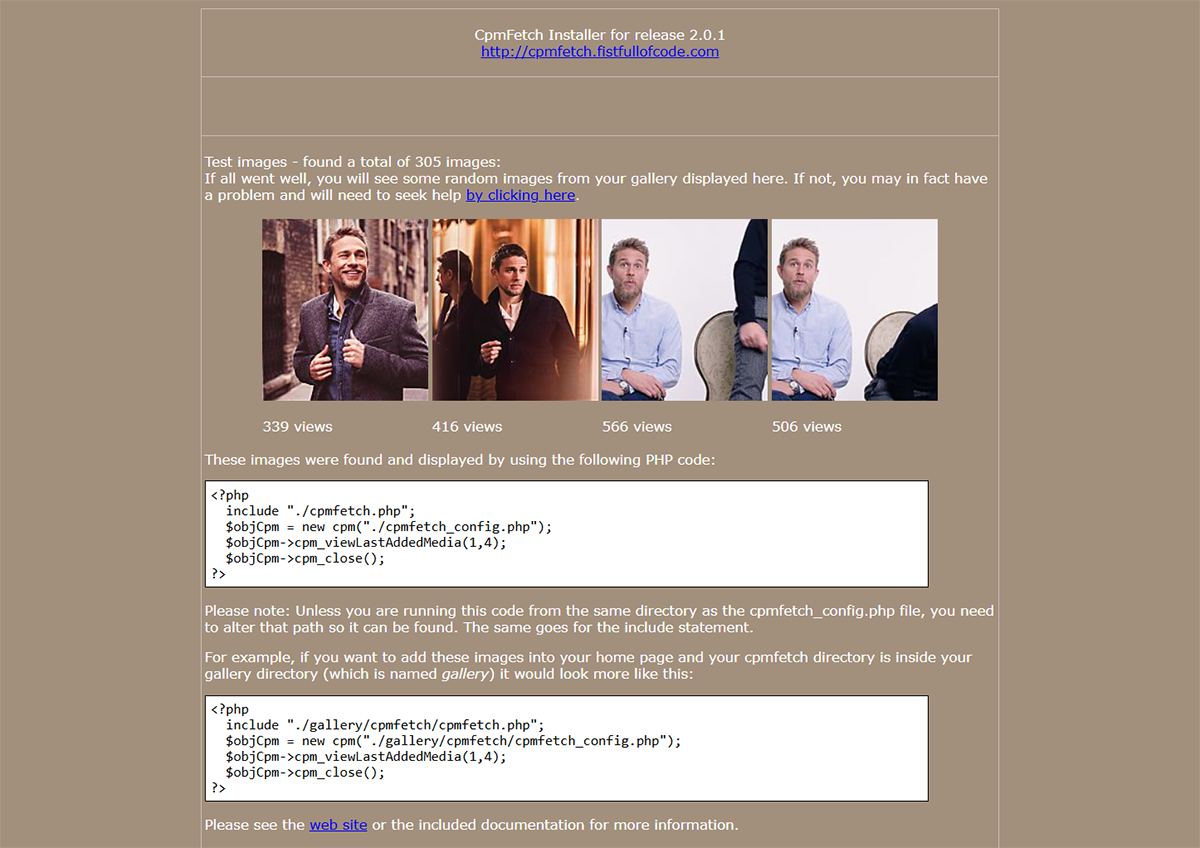
- Next you’ll want to click the Click here to run the install [OPTIONAL] link and proceed with the install. Following the install you should see a page that looks like this:

- Pay Attention: Your install will automatically configure the correct path to your gallery on your server. So when using any include code to call CPMFetch make sure the path to your gallery (aka your gallery folder name) is correct and matches what was shown on your install page otherwise it won’t be able to connect with your gallery and may cause issues with your theme.
include “./gallery/cpmfetch/cpmfetch.php”;
$objCpm = new cpm(“./gallery/cpmfetch/cpmfetch_config.php”);For example: If your goal is to use the CPMFetch include code on your homepage through a WordPress theme or widget, you will need to point the include path to your gallery folder, like this:
“./gallery/cpmfetch/cpmfetch.php”This works because the . in the path is used to direct the PHP include to search outside of the WordPress directory only one level deep to locate the /gallery/ folder.
CPMFetch PHP Code:
Copy and paste this code into a PHP-enabled widget or theme header in the assigned area to display your latest images:
<?php include "./gallery/cpmfetch/cpmfetch.php";
	$objCpm = new cpm("./gallery/cpmfetch/cpmfetch_config.php");
	$options = array('windowtarget' => '_blank', 'tablestyle' => 'cpmfetchtable', 'imagestyle' => 'tooltip image');
	$objCpm->cpm_viewLastAddedMedia(1,9,$options);
	$objCpm->cpm_close();
?>
Helpful Tips:
What you should also understand about the include code is this important line of coding:
This specific line controls the number of rows and images the code will display.
- The number 1 represents how many rows of photos you wish to display.
- The number 9 represents the amount of photos you want to display in that row.