
In this post I’m going to walk you through how to add this to your own gallery using two different methods. You can find detailed explanations for each method below.
Choose your method: FTP or cPanel File Manager
!! Before we begin !!
To achieve the results we want we’re going to be editing a core Coppermine file. So, before we begin it’s very important that you backup your functions.inc.php file by saving a copy to your hard drive. This acts as a failsafe in case updating the file breaks your gallery. That way if your changes result in an error you can replace the edited file on your server with the original file provided by Coppermine to get your gallery back in working order.
It’s also important to note that you will have to go through these steps to edit your functions.inc.php file after every Coppermine upgrade as the upgrade will replace the file with the updated version and therefore removing any edits you’ve done.
FTP Method:
Open your chosen FTP program and login to your website. I use Filezilla but feel free to use whatever program you’re familiar with.
Step One:
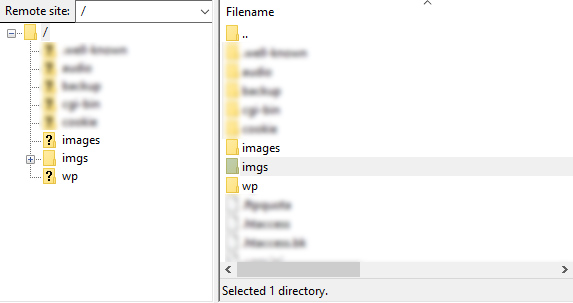
Open your FTP program and login to your website. Locate the folder your gallery is installed in (IE: gallery, photos, imgs) and navigate to to that directory. Now find the /Includes/ folder and locate the functions.inc.php file within.

Step Two:

Step Three
Now you’re ready to find this code in your functions.inc.php file. You can find the instructions on where to modify the file and the codes to use here.
cPanel File Manager Method:
If you don’t have access to your site via FTP or even prefer another approach you can also navigate to your Coppermine installation through your websites cPanel using File Manager.
Step One
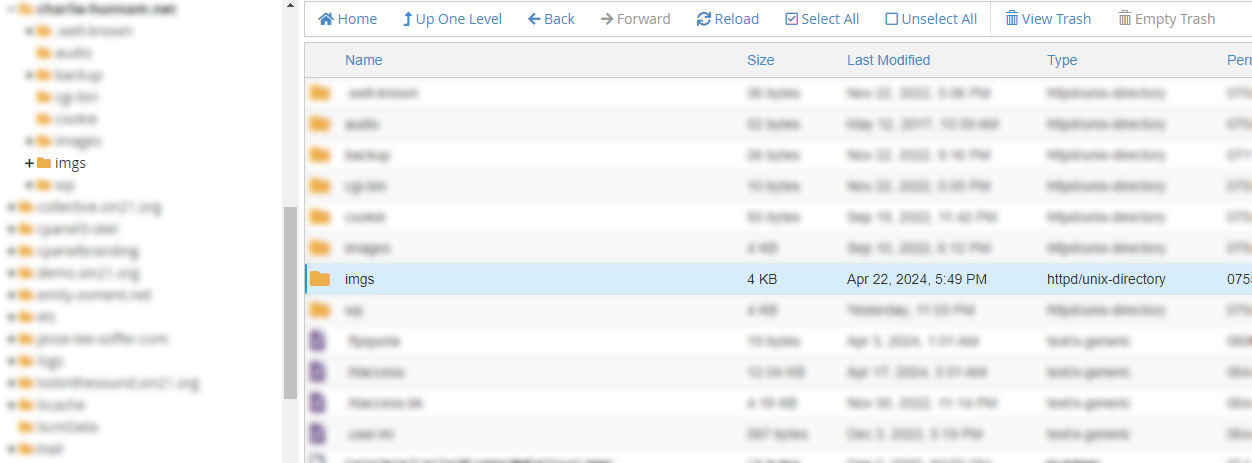
Login to your cPanel and locate your File Manager. Once you’re viewing your site through the cPanel File Manager you’ll need to locate the folder your gallery is installed in (IE: gallery, photos, imgs) and navigate to to that directory.
Step Two
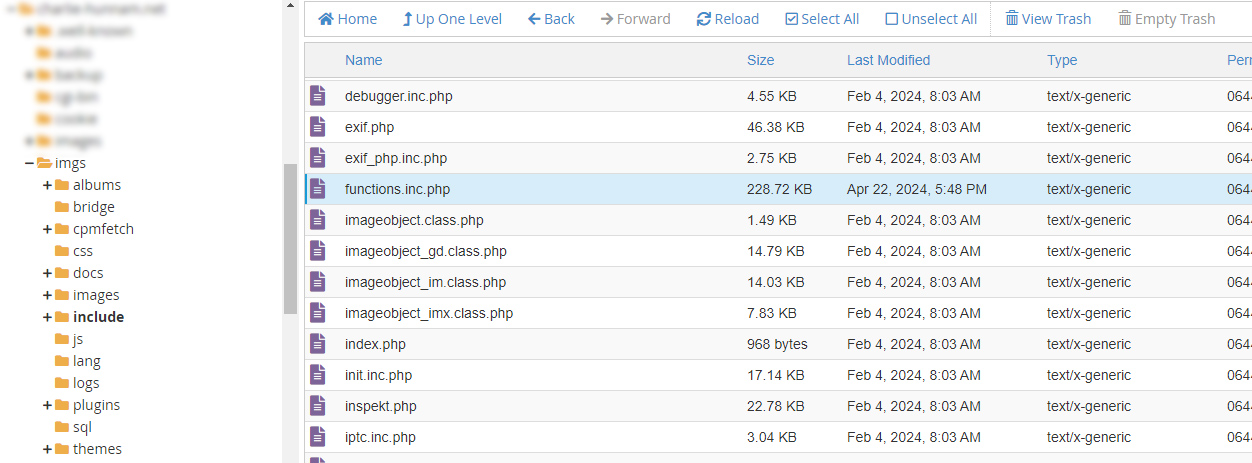
Once inside your gallery directory you need to find the /Includes/ folder and locate the functions.inc.php file within. Right click on the file and click Edit. A new tab should open with the showing the functions.inc.php in the File Manager editor.
Step Three
Now you’re ready to find this code in your functions.inc.php file. You can find the instructions on where to modify the file and the codes to use here.


Step Four: The Code
Find this coding in the file:
        if ($CONFIG['views_in_thumbview'] || in_array('hits', $must_have)) {
            $views = ($mode == 'albums') ? $row['alb_hits'] : $row['hits'];
            $caption .= '<span class="thumb_title thumb_title_views">' . sprintf($lang_get_pic_data['n_views'], $views) . '</span>';
        }
And replace it with this code below:
        if ($CONFIG['views_in_thumbview'] || in_array('hits', $must_have)) {
            $views = ($mode == 'albums') ? $row['alb_hits'] : $row['hits'];
            $caption .= '<span class="thumb_title thumb_title_views">' . sprintf($lang_get_pic_data['n_views'], $views) . '</span>' . '<span class="thumb_resolution">'.$row['pwidth'] . ' x ' . $row['pheight'] .'</span>';
        }
Can’t spot the changes in the edited code? No worries, it can seem like reading another language if you don’t understand what’s what. This works because we extend the already built-in thumbnail views row to include the codes that display the width and height of the image.
. '<span class="thumb_resolution">'.$row['pwidth'] . ' x ' . $row['pheight'] .'</span>';
Step Five: The CSS
To style the newly added thumb resolution block you’ll need to add this CSS to your Coppermine themes stylesheet if it doesn’t already have it included. I recommend finding the .thumb_title_views class and pasting the CSS below wherever it’s located in your stylesheet.
In my opinion it’s always best to keep similar classes grouped together so they’re easier to find.
.thumb_resolution {
	display:inline-block;
	padding:4px;
	color:#999;
	background:#eee;
	font-size:10px;
	text-align:center;
	text-transform:uppercase;
}
And that’s it! You’re finished, way to go you!